


How to Achieve a Layered Haircut: Top Tips for the Viral Hairstyle
September 1, 2024
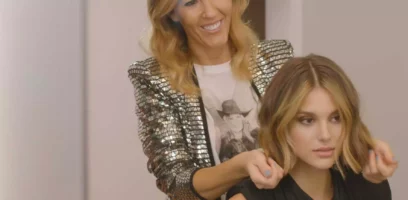
“I want my hair layered.” For hairstylists, it’s a very common request from clients. And every time layers are mentioned in hair salons, it raises a number of questions for the stylist. For example: How will you create layers for this client’s particular hair texture and length? Will you be able to achieve their desired effect? Will the client be happy with their new look? In this hair layering guide, we are covering how to cut hair layers, so you can improve your technique and masterfully style any type of hair.
Nowadays, hairstylists need to be skilled at many different styles, including but not limited to: cuts for short hair, straight and curly haircuts, angel cut with layers haircut, mid-length hairstyles, long hair with lots of layers, the timeless bob, and bold pixie cuts. With this tutorial, there’ll be no layered hairstyle you cannot conquer!
Ver esta publicación en Instagram
Layering is all about creating different lengths in the hair. These layers can be used to create definition, volume, movement, and texture for your clients. Ahead, we’ve broken this process down into four simple steps.
STEP #1: ASSESS THE HAIR, DETERMINING TYPE AND THICKNESS
The most important step for any hairdresser is to first identify the type of hair you are dealing with. You’ll need to know whether it is fine or thick, and whether it is straight, curly, or wavy in texture. This way, you can fully understand how their hair will behave once cut into layers. This helps avoid any unwanted surprises for you or for your clients—such as unwanted extra volume in curly hair.
For curly hair, you should cut it dry without washing it beforehand to see (almost immediately) how its shape and volume changes. In order to be able to cut the hair precisely, straight hair should be cut after washing and conditioning as there is typically less volume than in curly hair.
Ver esta publicación en Instagram
STEP #2: SPLIT HAIR INTO SECTIONS FOR LAYERING
It is vital that before you start cutting, you divide the client’s hair into sections. The size of your sections and exactly where they’re divided will depend on the hair texture and its length as well as the final result you’re going to achieve. With that being said, there is a standard method for parting that involves creating seven sections.
First, use a cutting comb to create a section. Start behind one ear and go up and over the head to the other ear. Divide this section into three smaller ones of even size. Split the remaining hair down the center—at this point, you will have five sections. Then, divide each side once more, and clip up your sections. Leave any hair below the nape of the neck out. Now, you should have the final seven sections that appear almost like a grid. Be mindful that this process will differ for shorter hair, where there will be fewer sections depending on the length.
STEP #3: CUT LAYERS BASED ON HAIR LENGTH AND TEXTURE
Next in the process is beginning to cut. How you proceed from here will differ depending on the hair length, as well as its texture. Here are some factors to consider when it comes to layering short, long, straight, and curly hair.
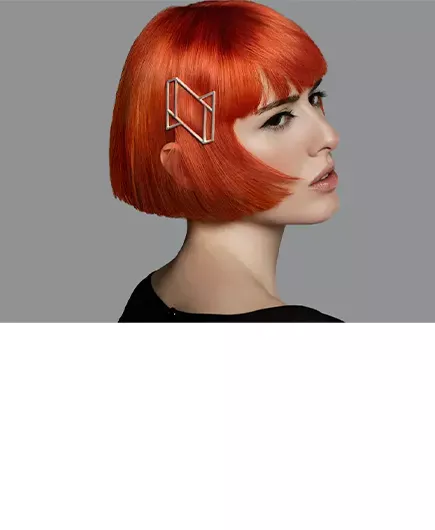
How To Layer Short Hair
For short hair, both the nape section and the sides should be cut as close to the head as possible. The angle of inclination will depend on the volume and style you want to create. For a pixie cut, it will be almost a 90º angle, and if it’s a short bob, you’ll slant the fingers at a 45º angle. The top sections will be cut both with perpendicular cuts and by texturizing with parallel cuts. The frontal area or bangs are left to your or the client’s personal preference.
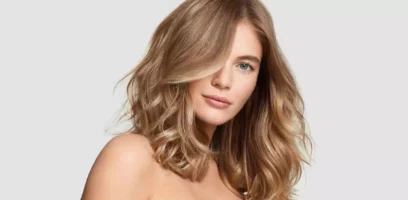
How To Layer Long Hair
In the case of long hair, start with the long section at the nape of the neck, cutting only the ends or adjusting the length to the style you think is best for the client. Next, let the back section loose and divide with the comb into three parts (center, left, and right). To create many layers, cut at three different angles: sliding the hair towards your body, at 45° from the crown and at 90° towards the top. Repeat the process for the other sections and continue along the sides. First, check the length (if you want to make it staggered, take the length from the nape of the neck to the shoulders) and continue until the end of the side. To layer the sides, use a strand from the back that has already been cut as a guide. The top of the front will be cut based on the desired style—you can also make recommendations according to the client’s features.
Ver esta publicación en Instagram
How To Layer Straight Hair
On straight hair (which is prone to being thinner than other textures), a bob will help to create volume and movement. After defining the length, section the crown area and cut at different angles with layers. This way, you will be able to give the desired level of movement to the hair. Another option is staggering from the front. Comb the hair from the crown and top of the ears towards the forehead, making the cut straight, and then add texture by cutting parallel to the sections.
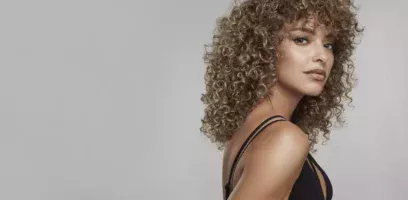
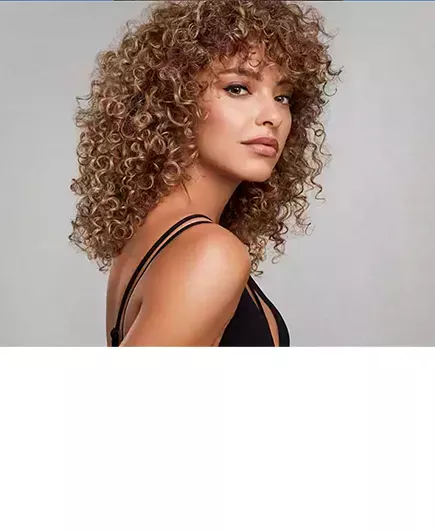
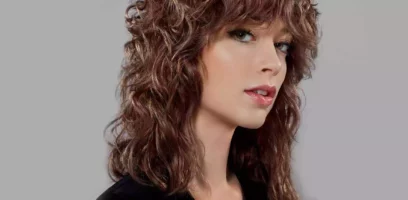
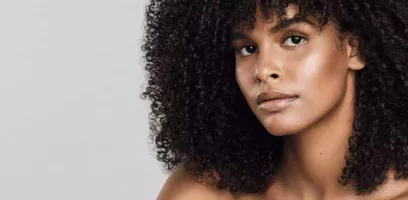
How To Layer Curly Hair
Curly hair is where you have to pay the most attention when layering—because a wrong cut can quickly change the whole style. As we have recommended, curly hair is best cut dry (especially if it is your first time with a client). This will make the final result much simpler and give it more impact. Start by defining the length. Then, create the layers according to the volume you believe will be good. For example, the wavy wolf cut has lots and lots of layers, even in the bangs, which gives a casual look with great volume. Essentially, it’s the ultimate hairstyle that everyone will want!
Ver esta publicación en Instagram
Step #4: Maintain a Beautiful Layered Haircut
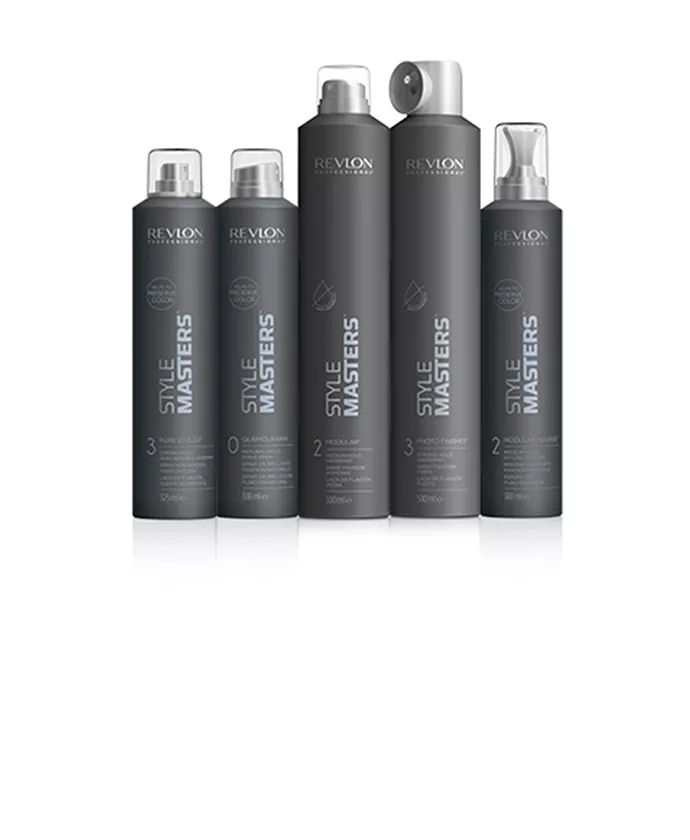
And finally, we must not forget about maintenance. To keep layers fresh and maintain their spectacular movement, you not only need to regularly touch them up but also encourage clients to use the right products in-between cuts. Here are our top product recommendations to consider for your clients with beautiful new layers.
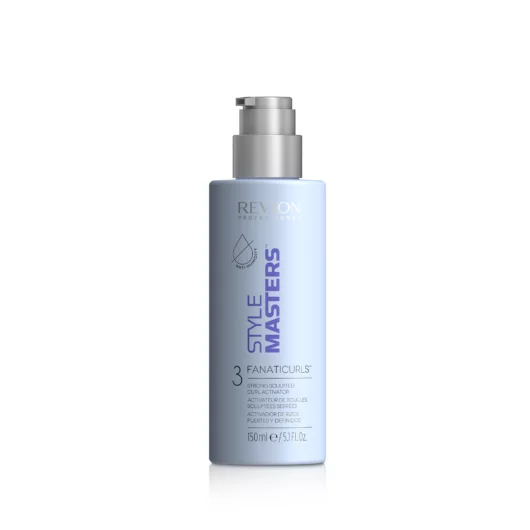
- Style Masters™ Curly Fanaticurls™: This curl activator will help new layers pop, leaving them perfectly defined, with maximum control and a divine color.
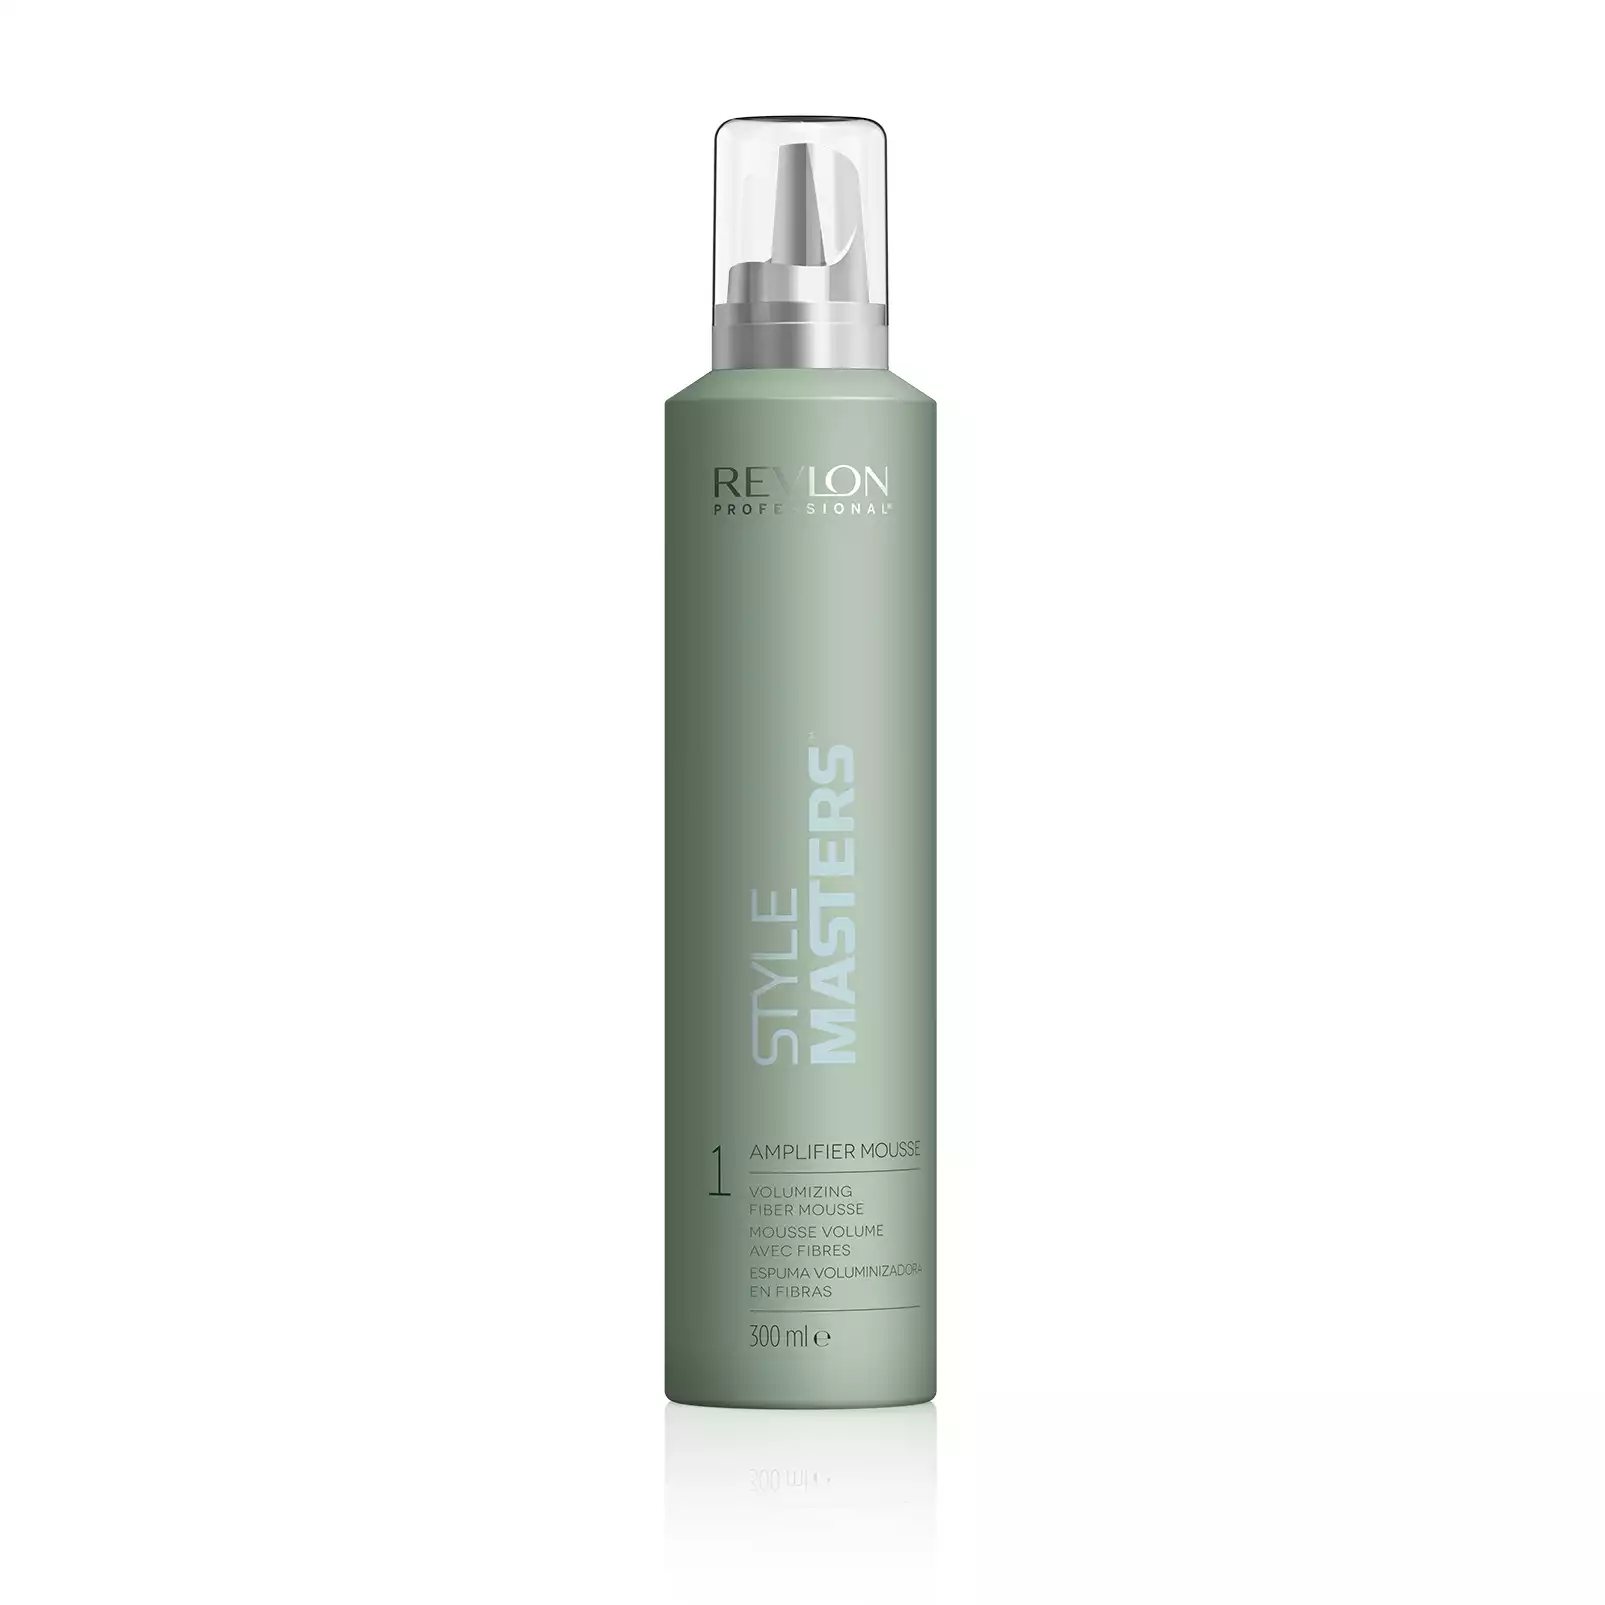
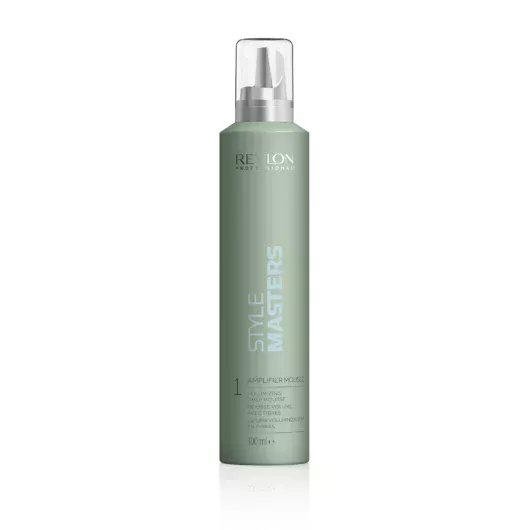
- Style Masters™ Volume Amplifier Mousse™: Ideal for adding volume to layers and providing body, this hair mousse has a fiber system that works wonders on fine hair and gives fantastic control.
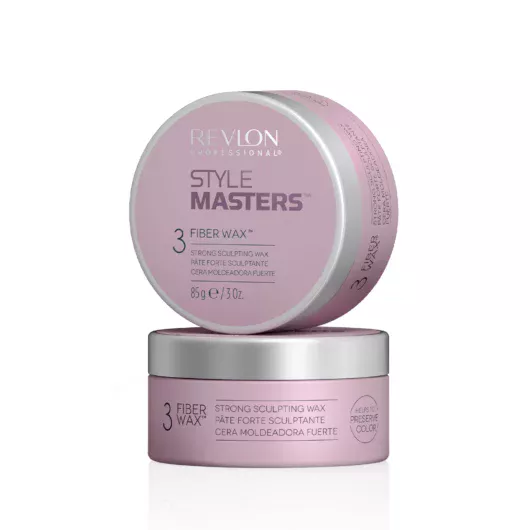
- Style Masters™ Creator Fiber Wax™: Define short hair with this wax that sculpts and texturizes. It offers a strong hold and a very natural-looking finish without adding any weight or greasy residue. As one idea, try making the layers look like they’re shooting off in all directions!
Now that you’ve mastered these tips on how to cut the perfect layers, it’s time to continue expanding your knowledge and expertise! With Revlon Professional’s e-learning platform, you can experience our global education platform 24/7 and gain exclusive access to content that will enhance your artistic and business development. Learn more and take the first step by visiting #RevlonProAlwaysOn.

Related products
Related articles
Keep on reading if you’ve enjoyed this one!
January 1, 2026
The Top Short Hairstyles for Women to Try in 2026
January 12, 2022
9 Gorgeous Hair Highlighting Ideas for 2022
October 29, 2024
The Best Medium Length Hairstyles Ideas
March 15, 2022