


The Art of Blowouts: Techniques for a Flawless Finish
September 18, 2023
Are you ready to master the art of blowouts?. As every hair stylist knows, a blowout is more than just drying your clients hair. It’s a technique that requires the right approach, tools, and products to create a stunning look that lasts. Read on to elevate your hairstyling game by discovering the secrets to the perfect blowout.
Ver esta publicación en Instagram
Prepping and Protecting Hair for a Blowout
Before you start the blowout hair process, it’s important to assess your client’s hair and choose a style that will best suit their hair type, length, density, and the occasion to ensure that the style lasts! Once the consultation is complete, you can choose your perfect care and styling products. Proper prepping and protection are essential so begin by gently cleansing your client’s hair using the appropriate product suited for them.
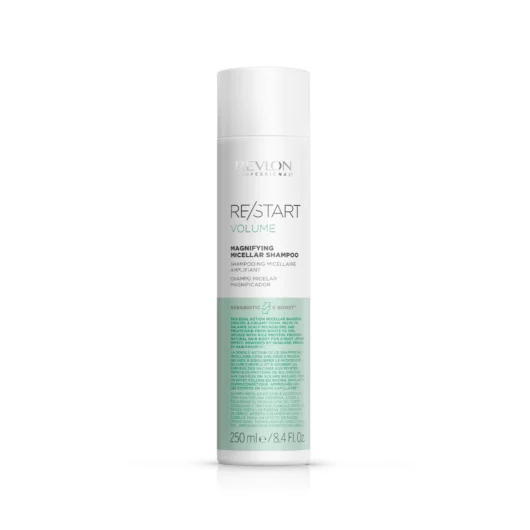
Finer hair is best suited to a product that gives a natural body and a root-lifting effect such as RE/START™ Volume Magnifying Micellar Shampoo. Colored hair will benefit from a protective cleanser that enhances color shine and reduces hair porosity for radiant hair like RE/START™ Color Protective Gentle Cleanser. Textured hair will benefit from the sulfate-free products and Curly Girl Method Compliant options like the RE/START™ Curls range that will gently cleanse and nourish wavy, curly, and coily hair for ultimate curl definition.
Whatever your choice of cleanser, ensuring your blowout hair is free from any buildup is essential to getting the best result. Once this step is complete, follow with a lightweight conditioner to maintain natural moisture and then prep with your chosen styling product!
Step-by-Step Guide to Perfect Blowout Hair
Once the hair is cleansed and hydrated, it’s time to bring your client back to the styling chair. Now, we know you have probably done this a thousand times but it’s worth going over the basics as the correct prep process is key to achieving that killer blowout hair, so let’s go step by step.
Begin your blowout journey by gently blotting your client’s hair with a microfiber towel (if you haven’t got these time saving beauties in your salon then it’s time to stock up). Remove excess moisture by gently patting the hair but avoid rubbing it. This will help prevent those dreaded knots from forming and protect the hair which is at its most delicate when wet. This step helps keep the hair in tip-top condition and also saves you valuable styling time.
Tools and Products for Achieving an Outstanding Blowout
Investing in the right tools and products is crucial for gorgeous blowout hair. Check that you have a high-quality blow dryer, diffuser, hot tools, brushes in various sizes to suit longer and shorter hair lengths and types, and the holy grail of all attachments, a concentrator nozzle. These are your essentials for blowout hair (and don’t forget your clips!).
Styling Tips for Different Hair Types and Lengths
When working with different hair types for a blowout, tailored strategies can make all the difference, however the basics nearly always apply. Use your blow dryer on a low to medium heat setting to pre-dry your client’s hair up to 80%. Gently run your fingers or a wide-toothed comb through the hair as you direct the airflow from the roots to the ends. This step helps remove excess moisture and speeds up the overall drying time. It will also gain you valuable styling time to work the different sections. Just make sure to use a suitable styling product such as Eksperience™ Hydro Nutritive Blow Dry Control Cream alongside the appropriate tools to help you to achieve your clients desired style.
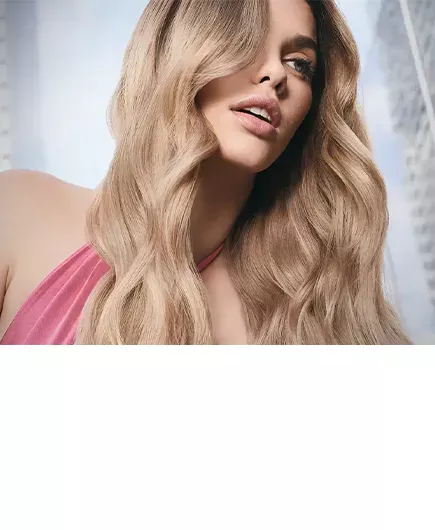
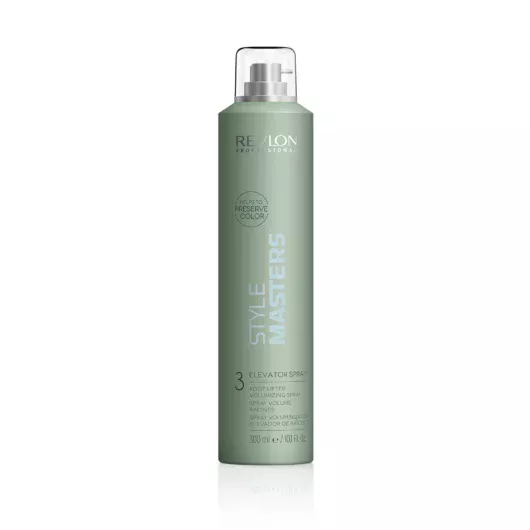
For finer hair with less volume, opt for Style Masters™ Volume Elevator Spray™ then use a smaller round brush to amplify volume at the roots, concentrating on lifting the hair as you maneuver the blow-dryer. The higher you lift a section the more volume you can create. For added volume at the roots, use a round brush to lift the hair at the crown area while directing the heat towards the roots. Gently lift the brush as you blow-dry, allowing the warm air to create lift and fullness. After that, bend those ends under for the extra illusion of fuller blunter ends.
Ver esta publicación en Instagram
If your client has thick hair and the aim is to smooth or straighten it, use Style Masters™ Smooth Iron Guard™ then take a medium-sized section and place a large round brush (for added root lift) or a paddle brush underneath the hair close to the roots. Use your blow dryer on a medium to high heat setting, aiming the airflow downward along the hair shaft. Slowly glide the brush down the length of the hair, simultaneously following with the dryer. This technique smoothes the hair cuticles, adds shine, and creates a sleek polished finish.
Ver esta publicación en Instagram
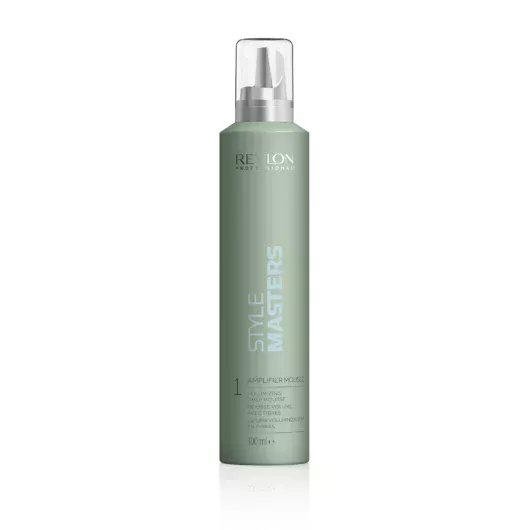
When crafting a blowout for short hair, wield a smaller brush and direct your focus upward at the roots. Smooth the hair down to create a slight bend towards the mids and ends. This outward movement combined with the use of Style Masters™ Volume Amplifier Mousse™ will promote body and smoothness while enhancing volume.
Ver esta publicación en Instagram
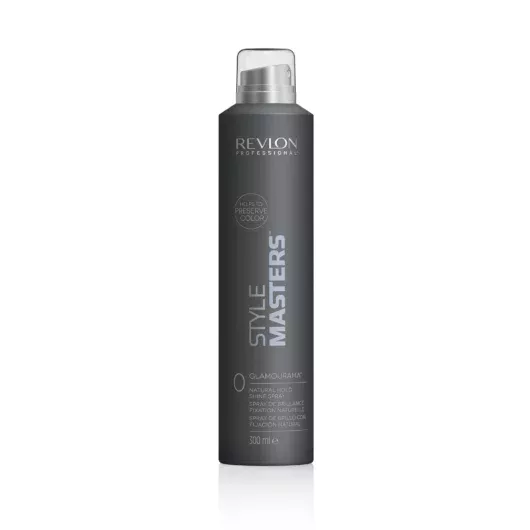
To achieve beautiful curls or waves on mid to long hair lengths, wrap a section of hair around the barrel of a round brush (remembering that the smaller the brush size the tighter the curls will be). Use the blow dryer’s heat to set the curl, then gently release the brush in a swift downward movement to avoid any tangles. Keep the section in a curled position for a few seconds to allow the curl to fully set. Repeat this technique throughout your hair, alternating the direction of the curls for a natural and voluminous look then finish with Style Masters™ Glamourama.
Ver esta publicación en Instagram
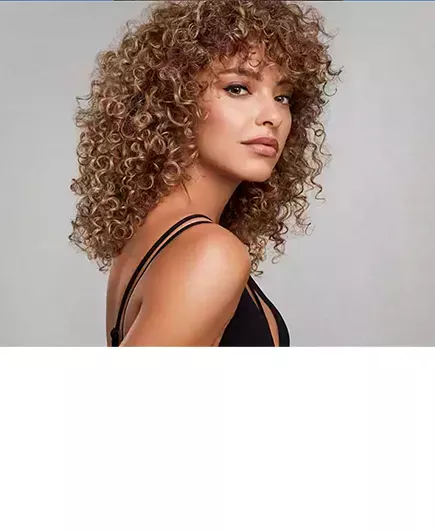
If your client is already rocking beautiful textured curls and coils then diffusing the hair will help to enhance those stunning natural curls. Apply a curl friendly product such as RE/START™ Curls Multipurpose Gel-To-Oil which is infused with natural oils for extra-bouncy curls, then flip your client’s head forward and diffuse the hair upwards to add volume. Gently diffuse in an upward motion and then move to a different area and do the same thing. Lower the diffuser and let the curl fall into it and then reposition it. Repeat this process until the curls are 75-90% dry and then let the rest air dry completely without touching it. Perfect!
Ver esta publicación en Instagram
Utilize the cool shot feature to finalize each section. Transition to a cool setting, sending refreshing air through hair. This step seals cuticles, locks in style, and enhances shine. Finish with an all-over cool shot for reduced frizz and amplified radiance.
Blowout Maintenance: Extending Life of Your Style
To ensure the longevity of your client’s blowout, make sure you use these pro tips! As always, a personalized maintenance routine is essential but to ensure longevity, especially if the blowout hairstyle needs to last a few days, recommend that your client delicately twists or wraps their hair in a loose bun or braid to encourage waves and curls and perhaps add a wrap to help keep the hair smooth while they sleep. Opting for silk or satin caps or pillowcases will help shield your client’s blowout from friction.
If their hair tends to get oily, an application of dry shampoo will help provide a swift solution to refresh and revitalize the roots. Moisture is generally great for hair but water or humidity will quickly revert the hair back to its natural state so avoiding getting the hair wet is key! Shower caps will become your client’s best friend and tell them to avoid the rain. We never said being glam was easy!
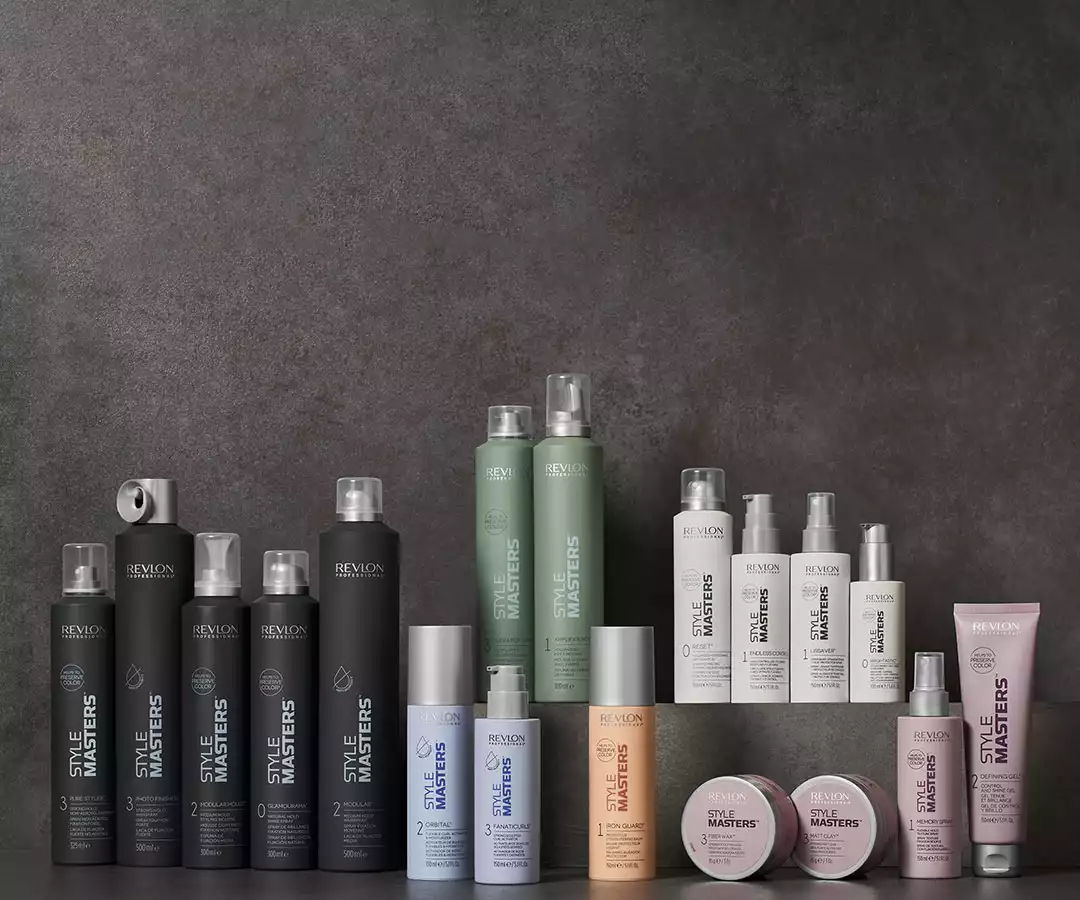
We can’t wait to see all your stunning blowouts! For more styling tricks and to further refine your current skills, head to our 24/7 online educational platform #AlwaysOn (for clients only so click the link to become one). To stock up on your favorite Stylemasters™ products to meet every blowout style, head to our Revlon ProShop.


Related articles
Keep on reading if you’ve enjoyed this one!
July 5, 2025

CURLY HAIR TYPES: HOW TO IDENTIFY AND TREAT THEM
January 1, 2026
The Top Short Hairstyles for Women to Try in 2026
July 25, 2023
Ponytail Hairstyles: Trendy and Fun Looks
January 10, 2023